How to paint a fence for a clean | Simple step-by-step guide
On this page
- Why knowing how to paint a fence matters
- What you need before painting
- Step 1 clean the surface thoroughly
- Step 2 remove old paint and sand the surface
- Step 3 repair before you repaint
- Step 4 apply primer for better results
- Step 5 choose the right fence paint
- Step 6 apply paint with the correct technique
- Step 7 inspect and clean up
- Ongoing maintenance tips
- Why trust us for your fence painting needs
Painting your fence is not just a matter of looks. It plays a crucial role in protecting the structure from the elements and preserving its condition over time. In this practical guide, we’ll show you how to paint a fence efficiently and correctly, helping you avoid costly errors and future repairs whether your fence is wooden or metal, using the right method from the beginning will ensure a smooth and durable finish with the proper tools, preparation, and approach, your fence can stand out and stay strong for years to come.
Why knowing how to paint a fence matters
Learning how to paint a fence the right way isn’t just about making it look nice. It also keeps the structure strong by protecting it from moisture, bugs, and sunlight. When you skip steps or use the wrong paint, the results don’t last, and that usually means more money and effort later.
Getting it right from the beginning helps your fence last longer, keeps it looking fresh, and can even boost the value of your place. Plus, if you know what you’re doing, you’ll avoid extra paint fence cost in the future.
What you need before painting
Before picking up a brush, gather the right tools and materials. Being prepared will make the project faster and more efficient. Here’s what you’ll need:
-
Exterior fence paint (for wood or metal)
-
Primer
-
Paintbrushes, rollers, or sprayer
-
Sandpaper or sanding block
-
Paint scraper
-
Bucket, sponge, and mild detergent
-
Drop cloths or plastic sheeting
-
Painter is tape
-
Safety gear gloves, mask, and goggles
Having these items ready helps you apply fence paint effectively and professionally.
Step 1 clean the surface thoroughly
No matter how good your fence paint is, it won’t stick to a dirty surface. Use a bucket of warm water with mild soap and scrub with a stiff brush. Rinse the fence and allow it to dry completely, this could take up to 48 hours depending on the weather.
A clean surface is essential for proper adhesion and is the first step in mastering how to paint a fence.
Step 2 remove old paint and sand the surface
If your fence has old, peeling paint, use a scraper to remove it. Then, sand the entire fence to smooth it out. Sanding also helps the new fence paint bond better with the material.
Pay close attention to corners and joints where old paint tends to stick. A smooth surface will give you a much better final result.
Step 3 repair before you repaint
Don’t paint over damaged wood or metal. Inspect your fence for cracked boards, rusted parts, or loose nails. Replace or repair everything necessary.
Make sure all areas are sturdy before moving on. Taking care of damage early will reduce your long-term paint fence cost.
Step 4 apply primer for better results
Primer seals porous surfaces and improves paint adhesion. Use wood primer for wooden fences and rust-inhibiting primer for metal fences. Apply one even coat and allow it to dry fully.
Skipping primer can lead to uneven coverage and shorter paint life. It’s a crucial step in learning how to paint a fence properly.
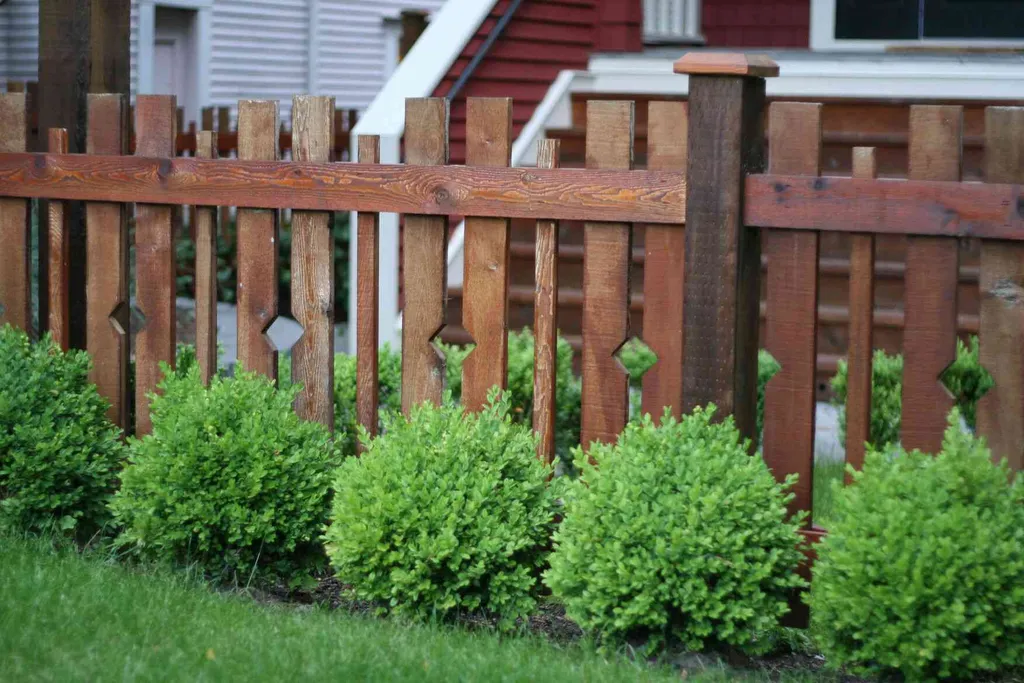
Step 5 choose the right fence paint
Choose your fence paint based on the material and finish you prefer. For wooden fences, acrylic latex exterior paint works well. For metal, choose enamel or oil based paint with anti rust properties.
Matte finishes look natural, while semi gloss or gloss finishes offer more durability. The right choice will affect both the look and your future paint fence cost.
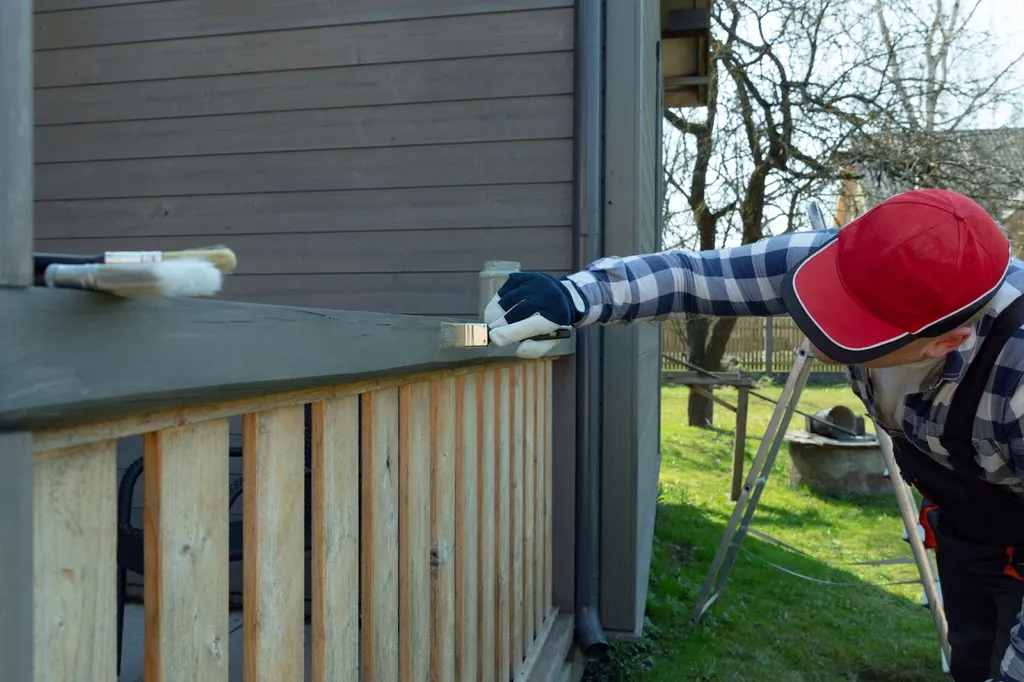
Step 6 apply paint with the correct technique
Start painting from the top down to avoid drips. Use brushes for edges and corners, rollers for flat areas, and sprayers for speed if you’re experienced.
Apply thin, even coats. Don’t overload your brush. Let the first coat dry (usually 4–6 hours) before applying the second.
Using the right technique is key to achieving professional-looking results.
Step 7 inspect and clean up
Once you’ve finished, inspect your fence carefully. Touch up any missed spots. Remove painter is tape slowly. Clean your brushes and rollers right away.
Dispose of leftover paint and materials responsibly. Finishing strong is part of a successful how to paint a fence project.
Ongoing maintenance tips
Even the best fence paint job needs care. Inspect your fence once a year. Clean it gently with water and fix any chips quickly.
Depending on the climate and quality of materials, you may need to repaint every 3–5 years. Regular care helps you control your overall paint fence cost.
Why trust us for your fence painting needs
If you’d rather not handle it yourself, we can take care of it for you. We know every step of how to paint a fence and use quality materials with expert technique.
Let us save you time, reduce your paint fence cost, and leave your fence looking clean, polished, and protected for years to come.
Frequently asked questions
Tap a question to read the answer.
How long does paint last on a fence?
Can I paint my fence in humid or wet weather?
Is painting or staining better for fences?
Why trust us for your fence painting needs
Ready to plan your fence?
Get a free, no-obligation quote from a local NJ fence company. We install vinyl, wood, aluminum and chain link fences across Wayne and surrounding towns.
Continue reading
How to Create a Fence Complete Guide to Building a Strong
Learn how to create a fence step by step with our easy guide. Discover the best materials, tools, and tips to build a strong.
Read more
The Best Residential Fencing Options
Explore the best residential fencing options for your home, including popular styles and tips the right contractor. Find durable and aesthetically
Read more
Fence permits and height rules in New Jersey: a town-by-town guide
Do you need a permit for a fence in New Jersey, and how tall can it be? A local installer's guide to the real rules — including the ordinances in Wayne, Clifton, Hawthorne and Pompton Lakes.
Read moreOriginally published on fenceprobybruno.com.